Teams
Teams in LatchLoop: Collaboration & Management Guide
Teams make it easy to collaborate with others on projects, assign tasks, and manage billing—all in one place. This article explains how Teams work, how to add/manage members, set up team billing, assign tasks, and control project access.
What Are Teams?
A Team in LatchLoop is a group of users who can collaborate on projects together. Teams unlock shared access to projects, centralized billing, and advanced collaboration features like task assignment.
- Personal Projects: By default, projects are private to you.
- Team Projects: When a project is shared with your team, all team members can access and collaborate on it.
Getting Started with Teams
1. Upgrade to the Teams Plan
To create or join a team, you’ll need to be on the Teams subscription plan.
- Go to Billing in your account menu.
- Choose the Team Plan and complete checkout.
(If you’re invited to a team, you don’t need your own subscription; your team owner manages billing.)
2. Creating a Team
Once you’re on the Teams plan:
- Go to Settings > Team Management.
- Click Create Team.
- Name your team (e.g., “Acme Dev Team”).
- You’ll automatically become the team’s owner.
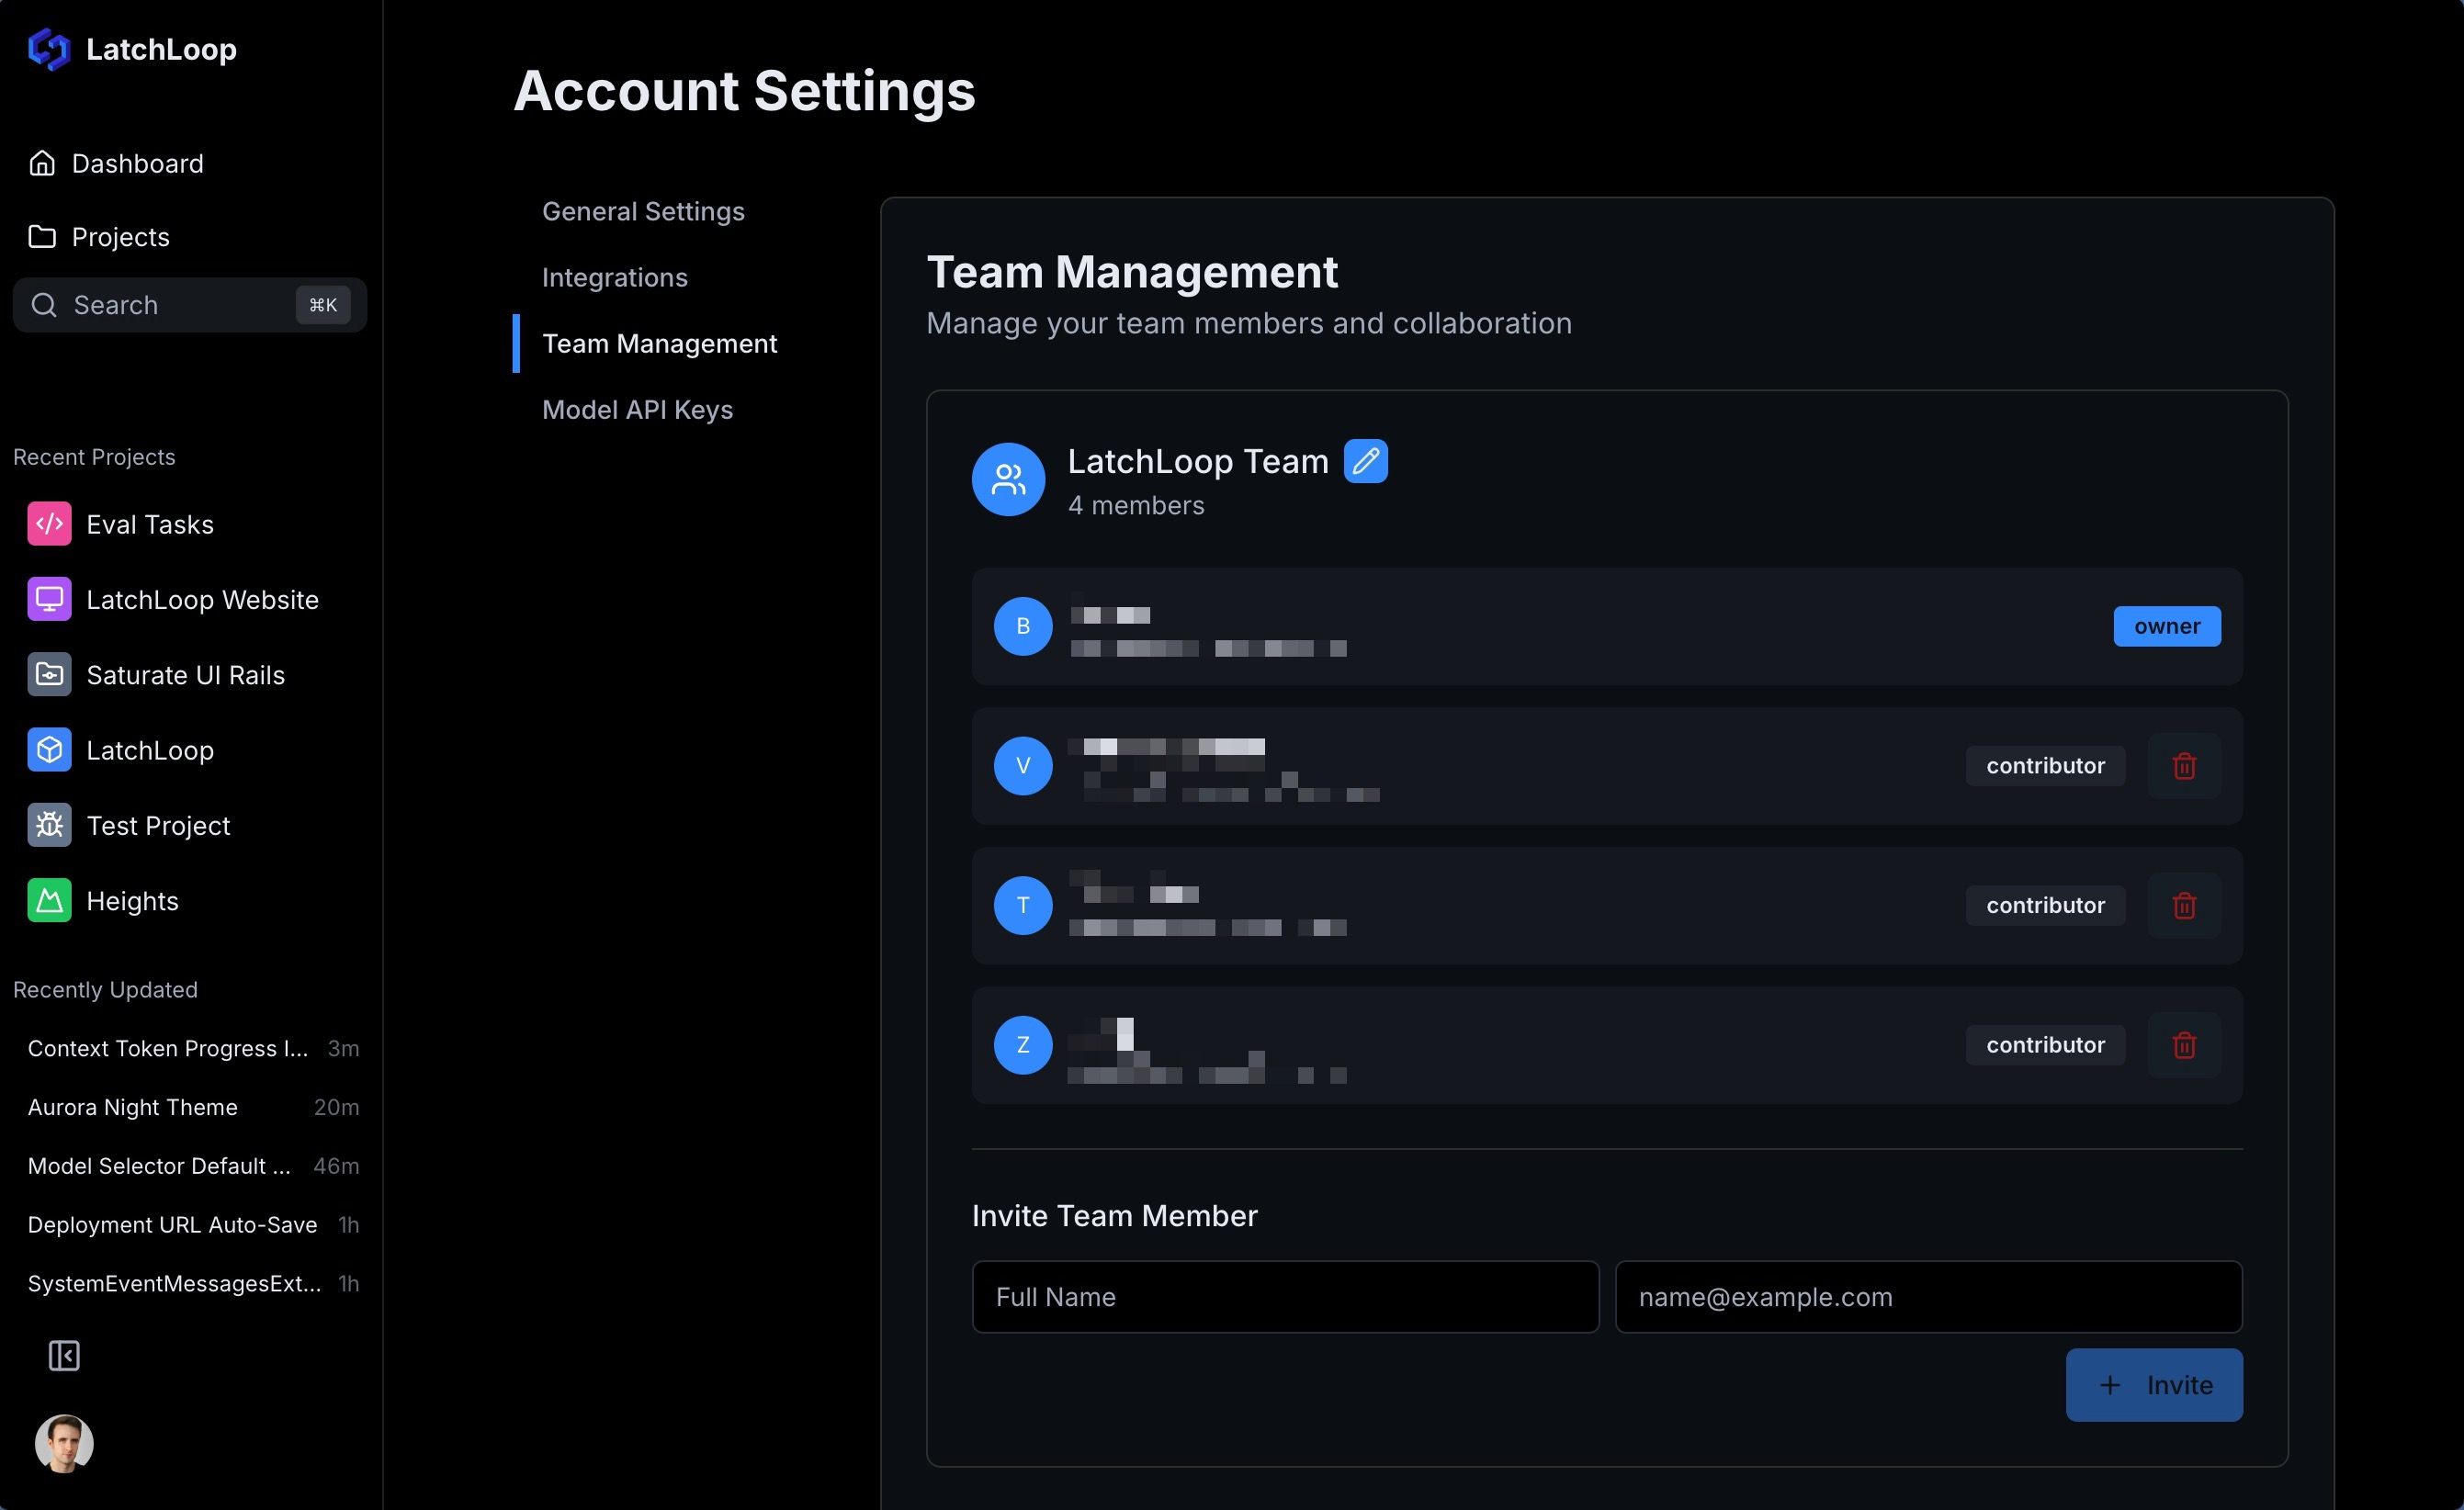
3. Inviting Team Members
As a team owner or admin, you can invite others:
- In Team Management, click Invite Team Member.
- Enter the invitee’s Full Name and Email Address.
- Click Invite.
What happens next?
- The invitee receives an email with a link to join your team.
- If they don’t have a LatchLoop account, one is created for them.
- They’ll appear in your team list as soon as they accept.
4. Managing Team Members
- Roles: Each member has a role (Owner, Contributor, etc.). Owners can manage the team and billing.
- Remove Members: Click the trash icon next to a member to remove them.
- Edit Team Name: Owners/admins can rename the team.
5. Team Subscription & Billing
- Centralized Billing: Only the team owner manages the subscription and billing for the whole team.
- Plan Management: Change or cancel your team’s plan anytime from the Billing page.
- Access: All team members get access to team features as long as the subscription is active.
Working with Projects & Teams
1. Sharing a Project with Your Team
- When you create a new project, it’s private by default.
- To share it with your team:
- Open the project’s settings.
- Click Share with [Your Team Name].
- Now, all team members can access and collaborate on the project.
2. Converting a Team Project Back to Personal
- In the project’s team settings, click Convert to Personal.
- The project will become private to you, and team members lose access.
Assigning Tasks to Team Members
- On any team project, you can assign tasks to yourself or any team member.
- Click the Assign button on a task.
- Select one or more teammates from the list.
- Only members of the project’s team can be assigned.
Tip: If you want to assign a task to someone not yet on your team, invite them first!
Team Member Access & Permissions
- Project Access: Team members can view and collaborate on all projects shared with the team.
- Profile Visibility: Team members can see each other’s names, emails, and avatars for better collaboration.
- Roles: Owners and admins manage the team, invite/remove members, and handle billing. Contributors can collaborate on projects and tasks.
Frequently Asked Questions
Q: Can I be on more than one team?
A: Currently, each user can belong to one team at a time.
Q: What happens if my team subscription is canceled?
A: Team features are disabled at the end of your billing period. Projects remain, but only the owner retains access.
Q: Can I invite someone who doesn’t have a LatchLoop account?
A: Yes! They’ll receive an invite email and can join your team by creating an account.
Q: How do I assign a task to a team member?
A: Open the task, click Assign, and choose a teammate from the list.
Need Help?
If you have questions or need assistance with Teams, reach out to [email protected] or use the in-app chat.